There are many methods to install Raspbian on your Raspberry, some are easier but limit the freedom to install other O.S., and others a little more difficult but allow more flexibility when installing other operating systems. In this first article I thought I will explain the easiest method to install Raspbian on your Raspberry Pi, although not long from now, I plan to publish the other method.
Being the simplest method, it is also the least flexible, as it does not allow to create different partitions for other operating systems (LibreELEC, Ubuntu MATE, Ubuntu Core etc …).
It should also be noted that this method is suitable for any type of micro SD card, in this article we will be using a Kingston 128GB microSD card.
Download and install Raspbian
The first step is to enter the Raspberry Pi official website, in the Downloads section and at the top of this page you will find different links to download the Raspberry Pi Imager software, download the program version according to the operating system you are using, in our case Ubuntu.
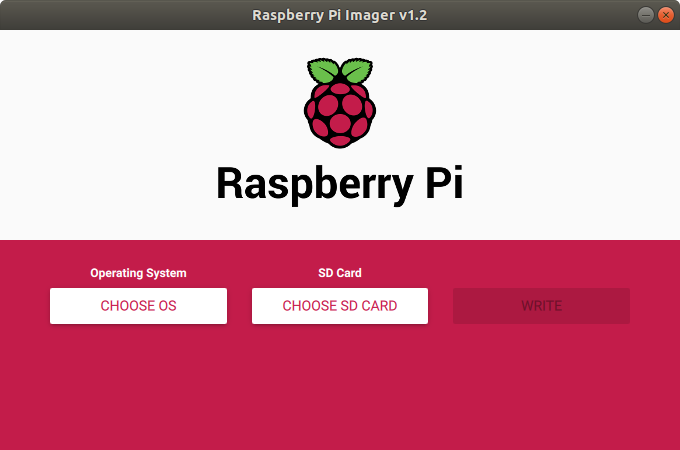
Once we have the program installed we will find a fairly intuitive interface similar to this one:
Le haremos clic al botón que dice “CHOOSER OS” y elegiremos Raspbian en su versión recomendada.
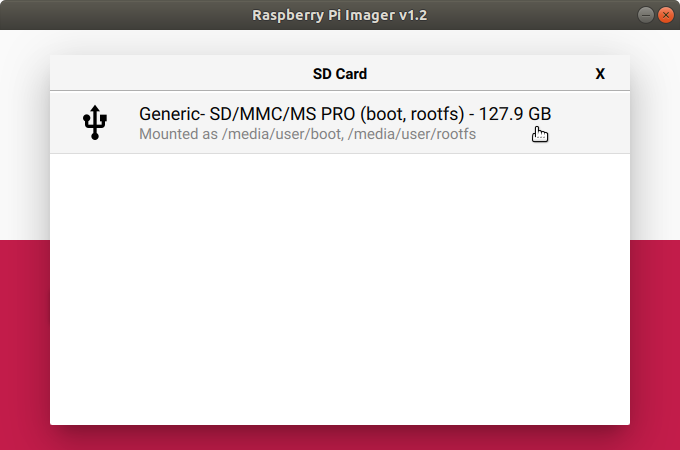
Then click on “CHOOSE SD CARD” and choose your microSD card (note that this process will delete all files from your microSD card)
.
Once we have completed these two steps, the option called “WRITE” will be enabled and we will click on it and Raspbian will start burning in our microSD.
When Raspbian is written to the card, a warning will pop up informing that the write was successful, and we can remove our microSD card.
The next step (with our Raspberry Pi turned off) will be to connect our microSD to the Raspberry and also to have connected an HDMI cable to a monitor, a keyboard
The next step (with our Raspberry Pi off) will be to connect our microSD to the Raspberry and also have connected an HDMI cable to a monitor, a keyboard , a mouse and an ethernet cable if we are not going to use WiFi.
With our Raspberry Pi off).
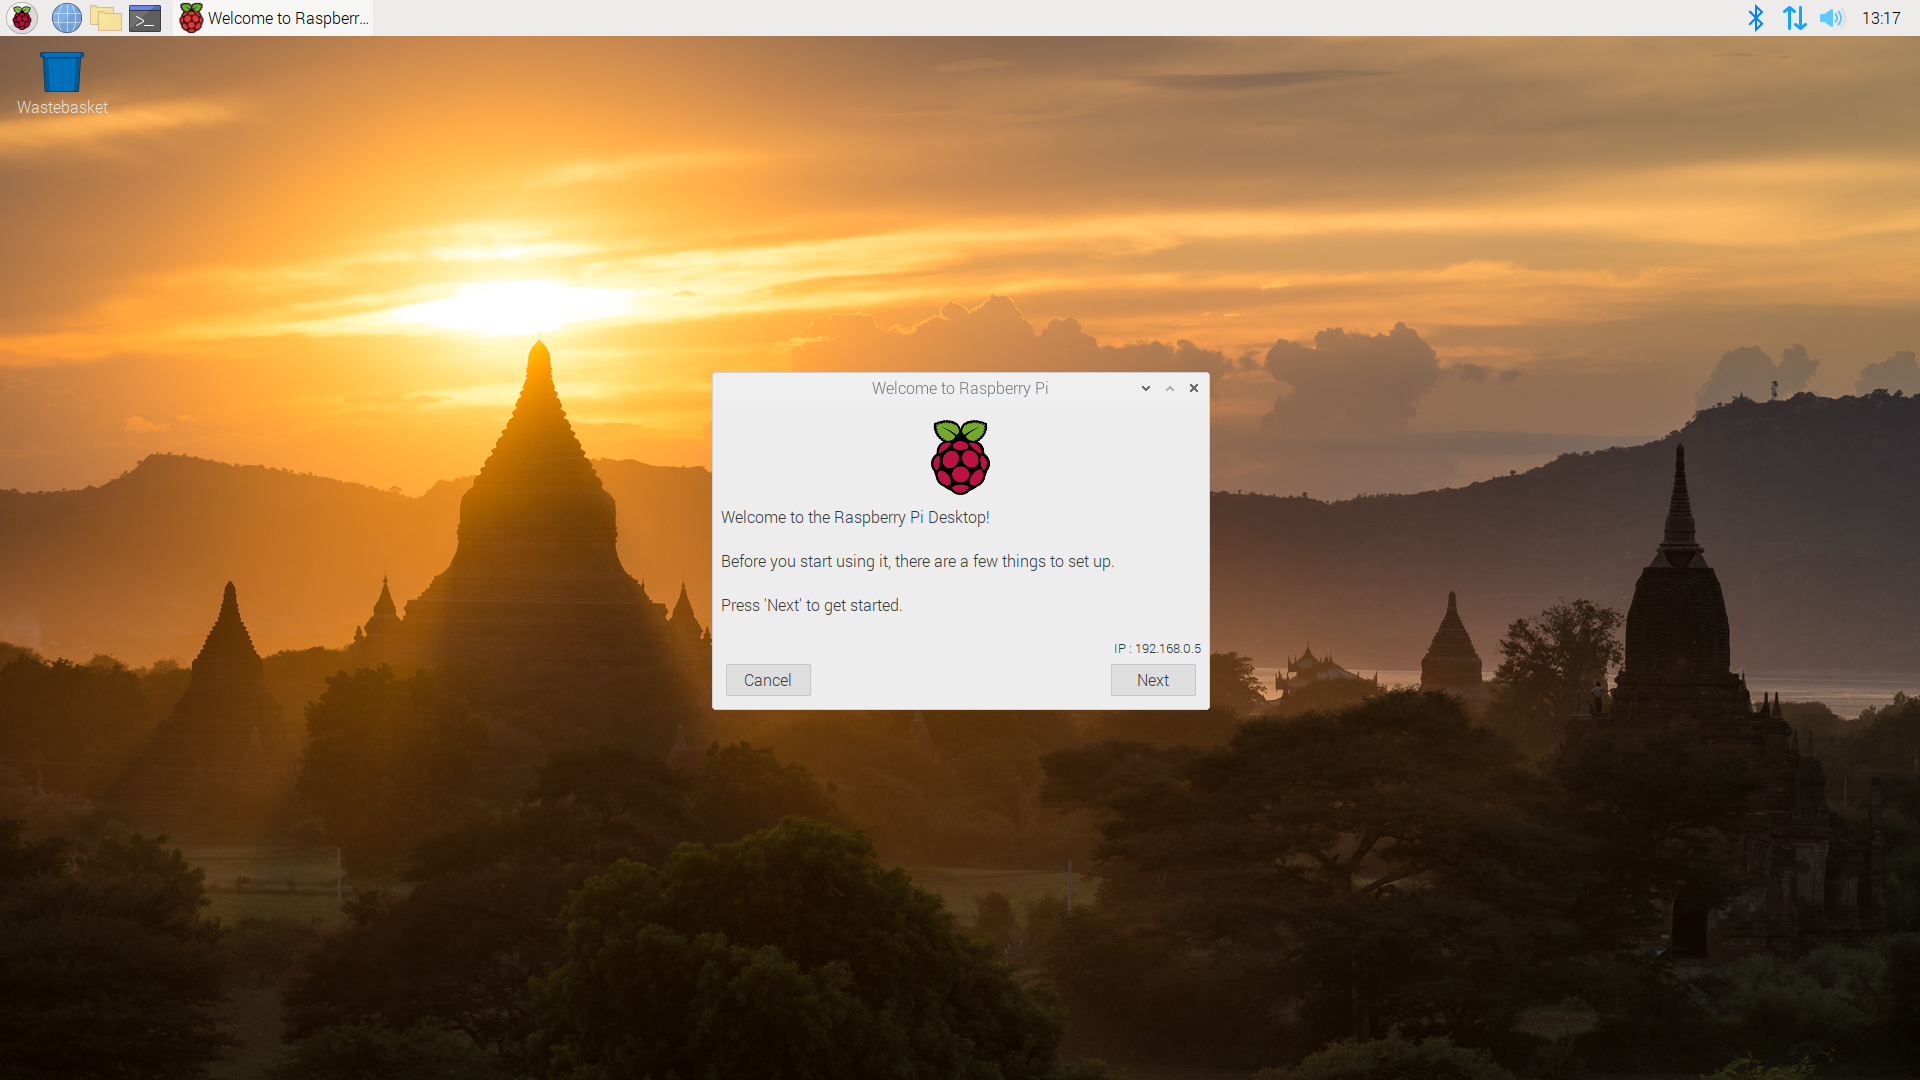
Once we have everything ready we can turn on our Raspberry Pi, Raspbian will take a while to start because it is the first time it runs, when finished the first thing we will find is a welcome window that will make us a wizard to make a basic configuration to our Raspberry Pi.
Basic Raspbian configuration
.
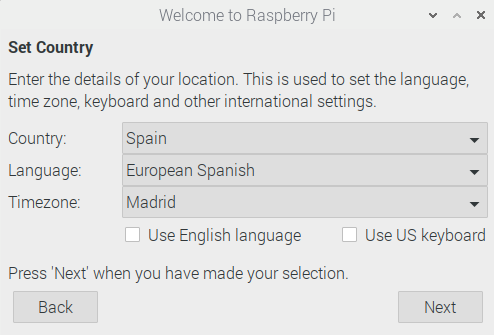
We will click on “Next” and it will ask us to select our country, so that we can leave our Raspberry Pi in English.
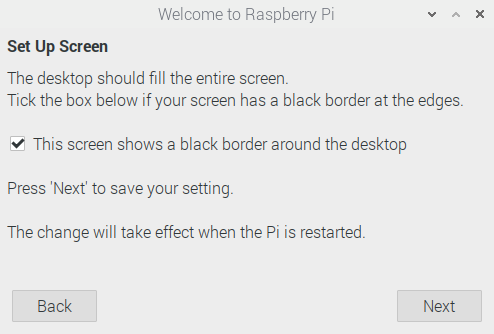
Si Raspbian no ocupa el 100% de la pantalla de nuestro monitor simplemente le haremos clic a “This screen shows black border around the desktop”.
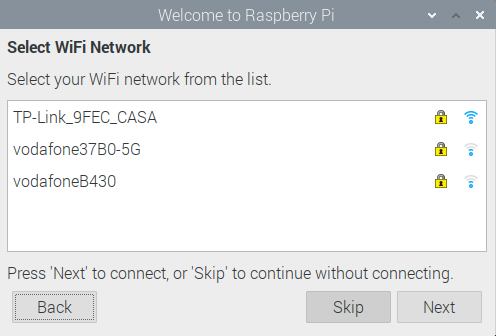
The next window, asks us to connect our Raspberry Pi to a WiFi network, in my case I will not connect it because I have it connected by cable, but in case you are not it would be as easy as selecting your WiFi network and enter your password.
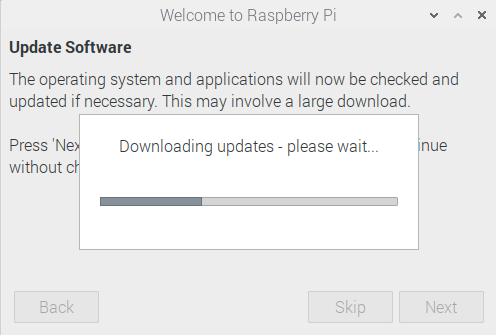
Finally, it will ask us to update all our software, click on “Next” and the update will start.
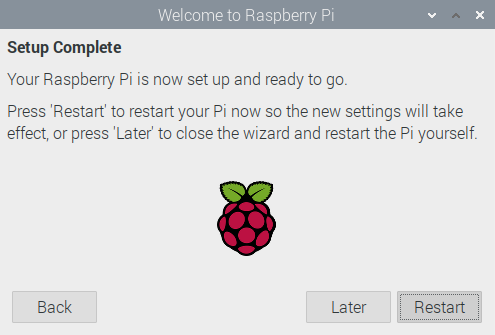
And when the update is ready the wizard will ask us to restart our Raspberry, we ignore it and give it “Later”, because before that restart we are going to assign our Raspberry a static IP.
Assign static IP to our Raspberry
.
There are two ways to assign our Raspberry a static IP, one is from the web interface of our router we can assign the MAC of the Raspberry network card a static IP. This way our Raspberry Pi will always have the same IP regardless of the O.S. we use or how many times we have formatted our microSD. I will not go into great detail in this way because each router is different and you should look for the specific way to do it in your router, although if you dare to do it you will probably find it in a section of DHCP settings.
The other way that we are going to use is to assign the static IP from raspbian, this way we like less but it would be the most advisable if what we want is to make a quick and easy installation of Raspbian.
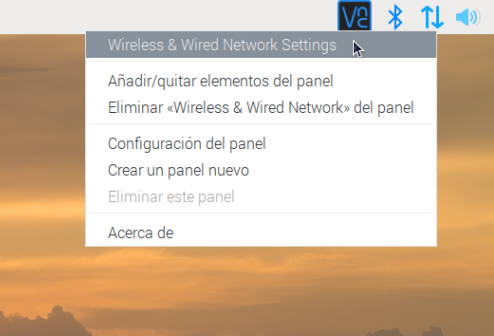
To do so, go to the network icon (the two arrows) in the upper right corner and click on “Wiriless & Wired Network Settings“.
In configure we will select to which card we want to assign the static IP, being eht0 for the wired card and wlan0 for the WiFi card.
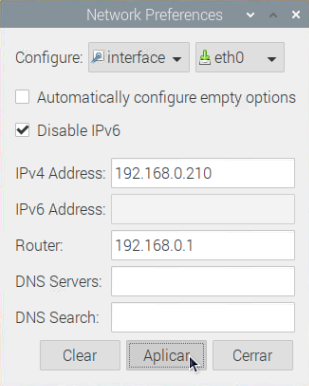
We will fill in the data as shown in the following image, unchecking the option that says “Automatically configure options” and leaving checked the option “Disable IPv6“, in “IPv4 Address” we will write an IP that no computer in our network has and in “Router” we will write the IP of our gateway. (Commonly it is 192.168.01 or 192.168.1.1).
This will have already configured the IP, but to secure the changes, go to the terminal and restart the networking service to ensure that the changes are applied correctly (with the command sudo service networking restart) and check that the IP has indeed been successfully assigned (with the command ifconfig).
Finally we will execute the reboot that was requested when updating the software with the command “sudo reboot“.
Finally we will execute the reboot requested when updating the software with the command “sudo reboot“.
After this restart our Raspberry will be completely ready to start using it for our projects with Raspbian, although the most advisable to do after this main installation would be enable VNC to manage our Raspberry through a remote desktop, and thus be able to disconnect the mouse, keyboard and monitor that I asked you to plug at the beginning of this article.
I hope it has helped you, and if you have any problems or questions you can tell me in the comments section.
I hope it has helped you, and if you have any problems or questions you can tell me in the comments section.
This website uses cookies so that we can provide you with the best user experience possible. Cookie information is stored in your browser and performs functions such as recognising you when you return to our website and helping our team to understand which sections of the website you find most interesting and useful.
Strictly Necessary Cookies
Strictly Necessary Cookie should be enabled at all times so that we can save your preferences for cookie settings.
If you disable this cookie, we will not be able to save your preferences. This means that every time you visit this website you will need to enable or disable cookies again.


Leave a Reply